Just like starting a new workout routine, improving your school food photography skills starts with a few simple moves. You don’t need fancy equipment or a big budget. With the right techniques and a little practice, you can take photos that make your meals shine.
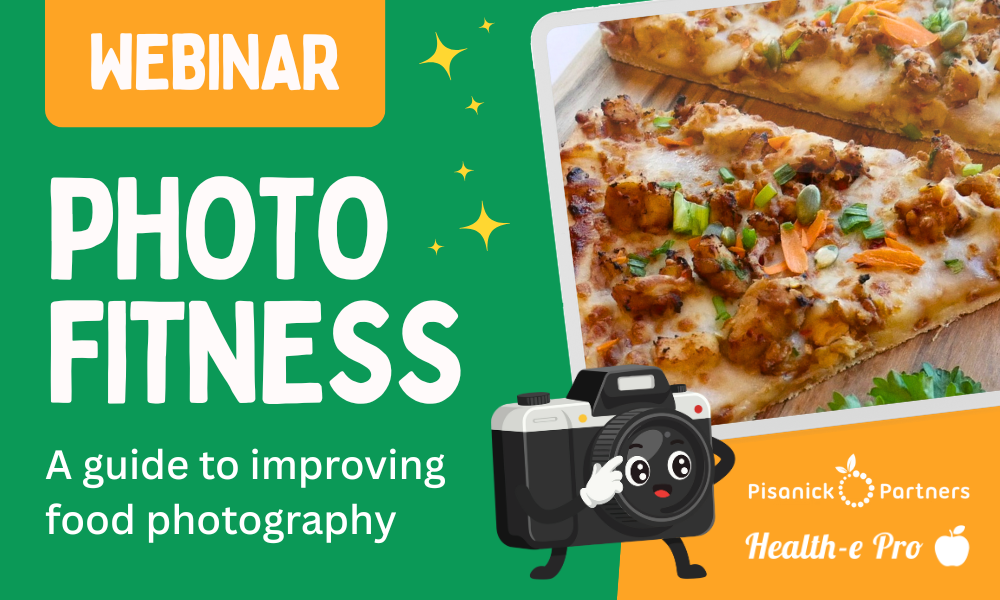
Health-e Pro recently hosted a Photo Fitness webinar with Maureen Pisanick from Pisanick Partners and Jess Stone, Head Cook from Woodridge Local Schools. They shared simple ways to take better food photos in a real, busy kitchen, and how to use those photos to promote menus and increase participation.
Must-Have School Food Photography Tools
- Smartphone with a good camera (iPhone or Android works great)
- White or neutral colored background (poster board or parchment paper)
- Small reflector to bounce light (foam board works perfect)
Simple Techniques to Get You Started
Focus on the lighting. Natural light works best, so place food near a natural light source when possible (windows are your best friend). If natural light isn’t available, clip-on ring lights or small LED panels can help. You can also use white paper or a foam board to bounce light.
Unclutter the background. A clean background keeps attention on the food. A white or neutral backdrop (like poster board or parchment paper) makes food colors pop and helps photos look more polished.
Adjust the angles. Take photos from a 45° angle or straight overhead. Turn on your phone’s grid and frame the food within about ⅓ of the image (rule of thirds) to make the photo look balanced.
Capture and edit the pictures. Use burst mode to capture multiple angles quickly. Then use quick editing apps on your phone for minor touch-ups (lighten, crop, sharpen).
Real-Life School Food Photography Examples
One of the best parts of the webinar was seeing how school food photography works in a real kitchen, even when it’s busy.
Jess Stone shared how she takes photos and videos in her kitchen and posts consistently on social media. That consistency helps with menu awareness and excitement around what’s being served. She also shared that their cafeteria has seen record high numbers, especially on theme days.
The webinar also highlighted creative examples like the Snack n’ Waffle Tutorial, which shows how a professional-looking Instagram Reel can be created using an iPhone and simple techniques.
Common Challenges in the Cafeteria
Maureen also covered a few barriers that can make school food photography seem harder than it needs to be, along with ways to work around them.
Kitchens and serving lines may not have the best lighting. The first step is to find natural light close by, but if that isn’t an option, a small light panel can help brighten the picture.
School nutrition professionals are busy all day, every day, and taking photos can feel like one more thing. Try scheduling photos before or after peak service times when possible. Keeping a small kit of props and tools ready makes it easier to fit photography into your routine. If you can, pre-stage a sample tray before service in a spot with good lighting so photos take just a few minutes.
Reflections from stainless steel can distract from the food and create glare. If stainless steel is in the background, avoid using flash and shoot at a 45° angle. A close-up shot can also help reduce glare by removing the background.
Health-e Pro Makes It Easy
After you take some photos, share them where families and students will actually see them. In Health-e Pro, you can upload images to your local recipes in Menu Planning so your menu photos reflect what students are actually being served.
If you use Health-e Pro Online Menus, you can add sidebar images directly to the menu, to help tell your program’s story. Many programs use sidebar images to feature their team, promote new items, or highlight special programs or theme days.
Photo Fitness Recap: Key Takeaways
You don’t have to be an expert to start taking food photos. With a few must-have tools, the right lighting, a clean background, and consistent angles, you can keep improving your food photography skills. Health-e Pro makes it easy to share those photos across your menus and help tell your program’s story.
Want to see these tips in action? Watch the full Photo Fitness webinar recording and access the resources here!